


The second screw securing the parking light lens is between the parking lens and turn signal. With the top parking lens screw removed gently pry between the two lenses so your screwdriver or tool can get to the second screw. Its a very snug fit on this vehicle.

Once the parking light lens is removed, turn the light socket to remove it from the lens and set the broken lens aside. Once all the screws for any part like this are removed the lens should release easily. If it doesn't, then check for any other screws that are holding the lens in place.
Now we can move on to the turn signal lens. Same as before, two screws only in different locations. One screw at the corner of the lens and the other in the middle of the lens. The other end of the lens hinges on the grille. Simply turn the light sockets to remove them as you did for the parking light lens.


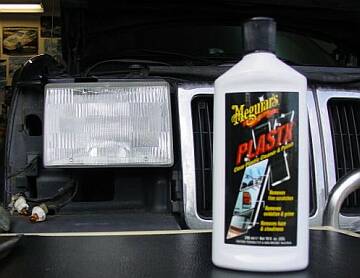
Now we can install our new lenses. I purchased these from an aftermarket supplier and they aren't quite the quality of the OEM, but the look once installed is fine. Now if you really want to get fancy use a polish designed for plastic lenses to clean up the headlight lens so all the lighting appears new.

Installing the new lenses is the reverse of removing them. First place the light sockets in the lenses and turn to lock them in place. Reinstall the turn signal lens by placing its locking tab in the grill and securing it with the two screws you removed earlier. This next part is tricky and that's getting the bottom screw back in the lower part of the parking light lens. Once again use your screwdriver to pry the two lenses apart just enough to get the screwdriver in place to secure the screw. For an application like this I would suggest a Torx screwdriver instead of just the Torx bit like I used here. Once the top screw is installed your new lenses should look like the one in the photo below.

Once the lenses are in place check to make sure all the appropriate lighting works. Clean the new lenses and your done. For repair info and detailed instructions a subscription to Alldata can help with simple repairs like this to more in depth repairs. Question or comments are always welcome.
Your feedback is GREATLY appreciated!! Please email your comments to:
Thank you!!
